SEW, WHATS BEEN GOING ON?!

Happy New Year! I’ve been getting me together. 2024 was a year of growth. Can you guess that I learned to sew!

The completed construction of my 1st pants

Sewing was something I desired to learn for a long time. Initially I thought I needed a special machine for left-handed people. I found out that didn’t matter.

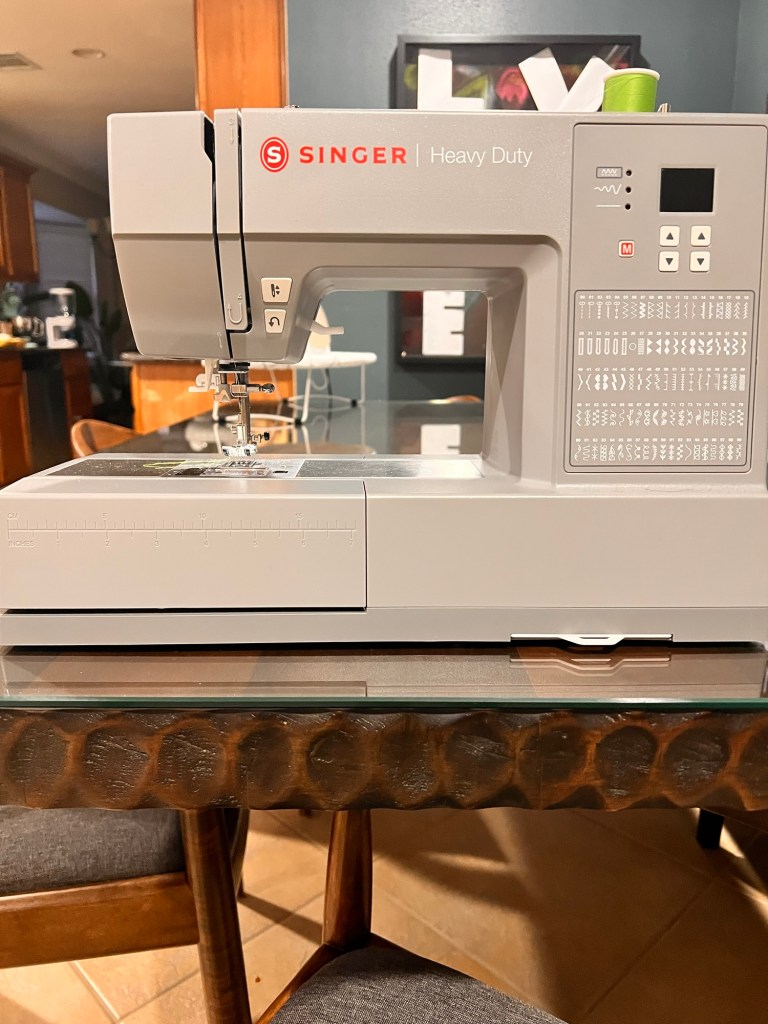
My husband gifted me a sewing machine the Christmas of 2023 and it sat for a few months while I tried to find in-person classes.

Singer “Heavy Duty”

YouTube University was not that helpful. I had to watch too many videos from different people to kinda get close to what I needed to learn and no matter how much I tried the bobbin didn’t set right. The frustration could’ve blown my head off.

I found a sewing machine shop online, close enough to me and took my machine there to get a little help. The associate showed me how to do it lickity split. I needed to get instructions from a real person. This shop did not offer classes. Not even Joann’s offered classes anymore. Covid was the culprit. The correction was so simple. I was over thinking it and the resolve opened up a whole new world for me.

Knowing how to set the bobbin, I started playing around with stitches. Seeing how straight I could keep my lines.

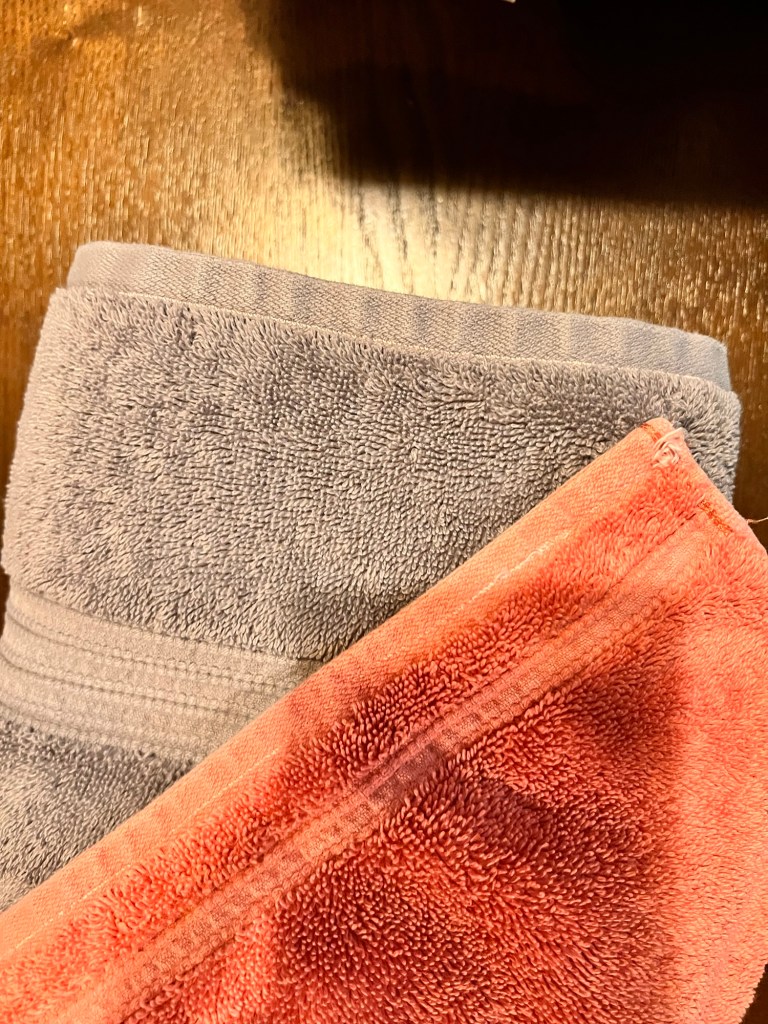
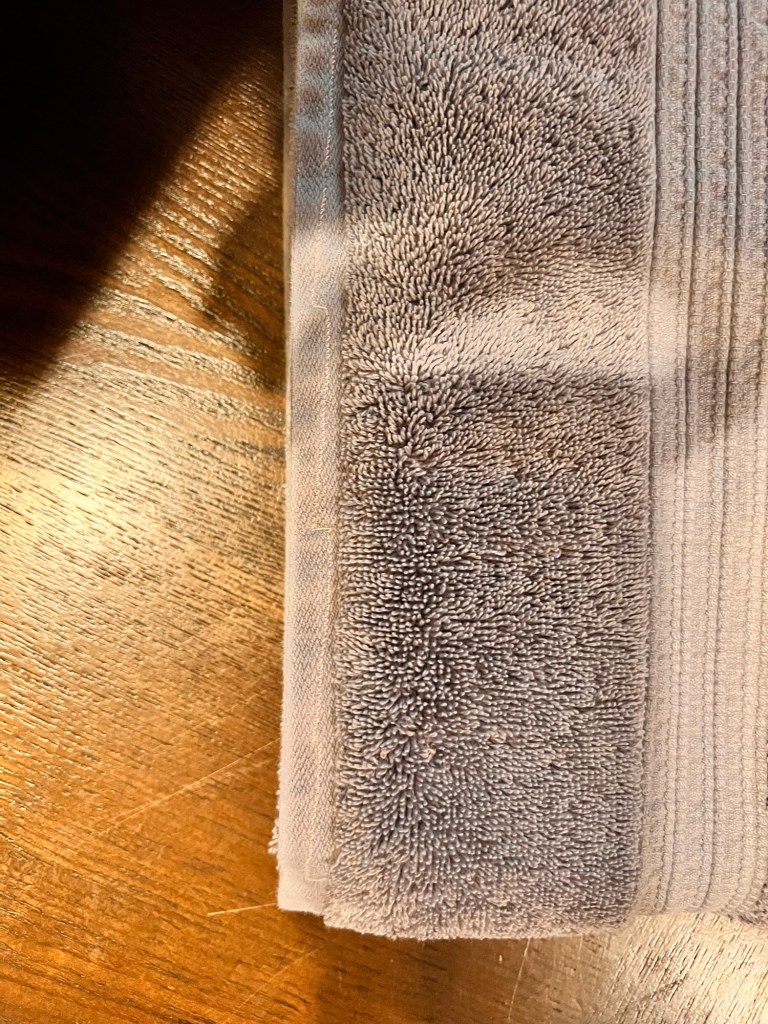
Sewing is so practical. A skill that I can use for pleasure and necessity. To practice more sewing without knowing much more, I began mending my kiddo’s bath towels and wash clothes. Some of the ends had unraveled on perfectly good towels. The refresh made them look new again.

It was hard staying straight

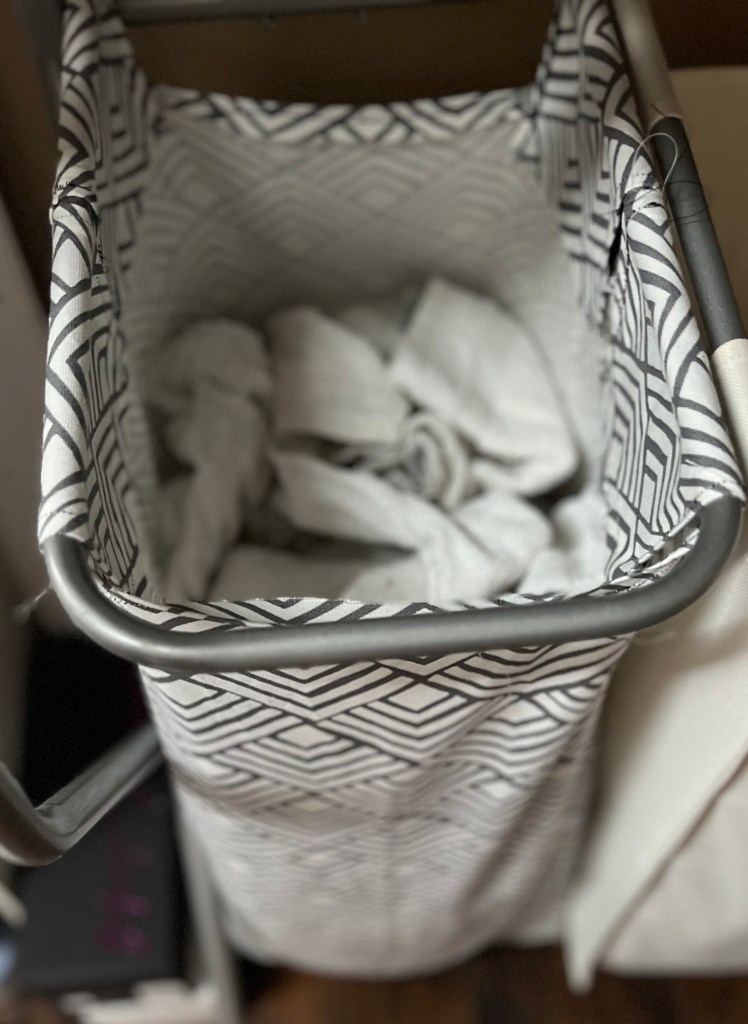
The towels inspired me to do another refresh. This time with our dirty laundry thingy. All three bags had molded in the bottoms and along the top where we set the wet clothes. I tried washing them before and to no avail, the mold did not come out. I decided to change the material to something I could wash in the laundry just the same. Walmart sells pre-cut material in various colors and styles, from one yard to four. I picked some up and attempted to make my first bag!

First bag using Velcro
Cropped image Courtesy of my Son 🤗

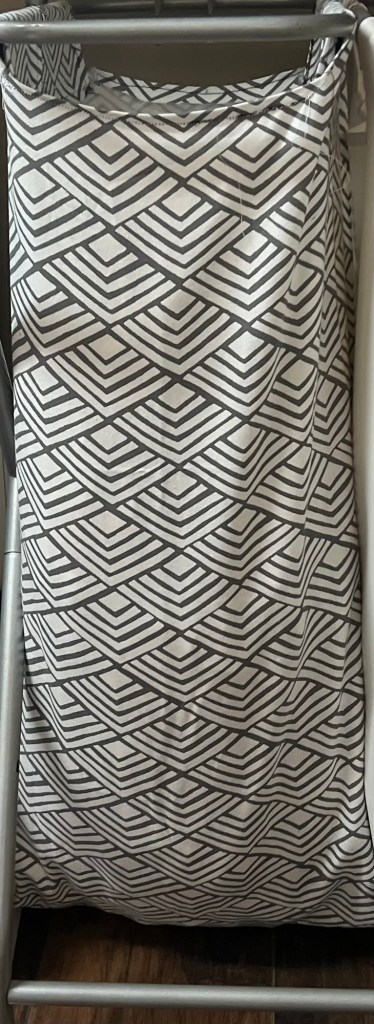
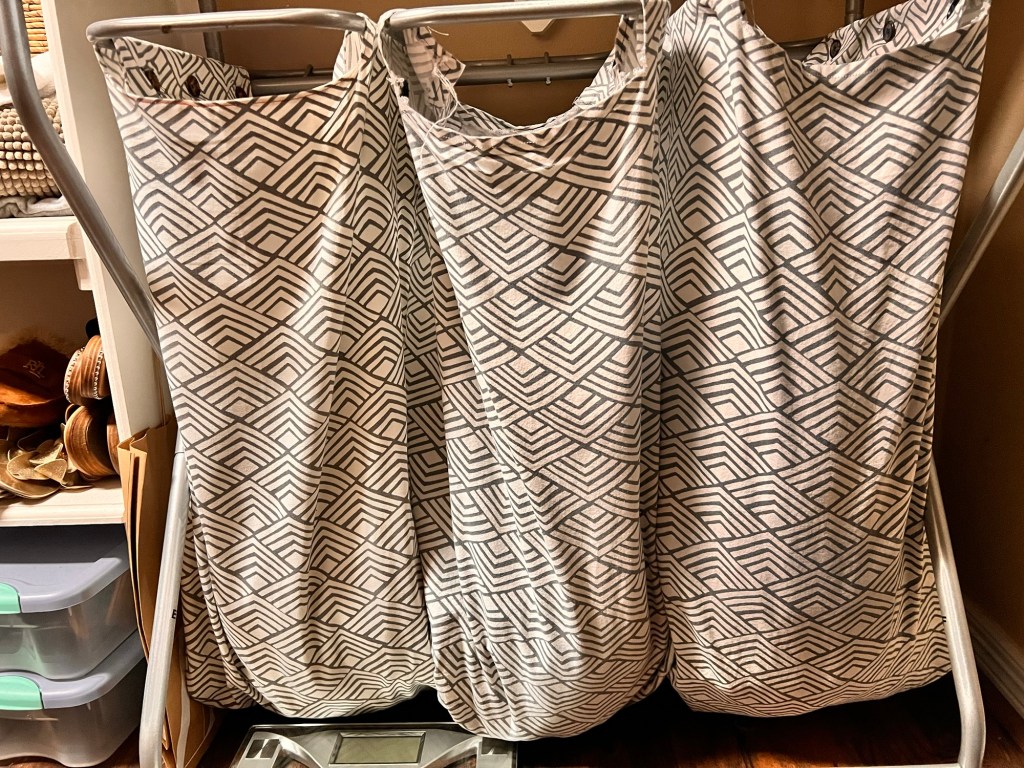
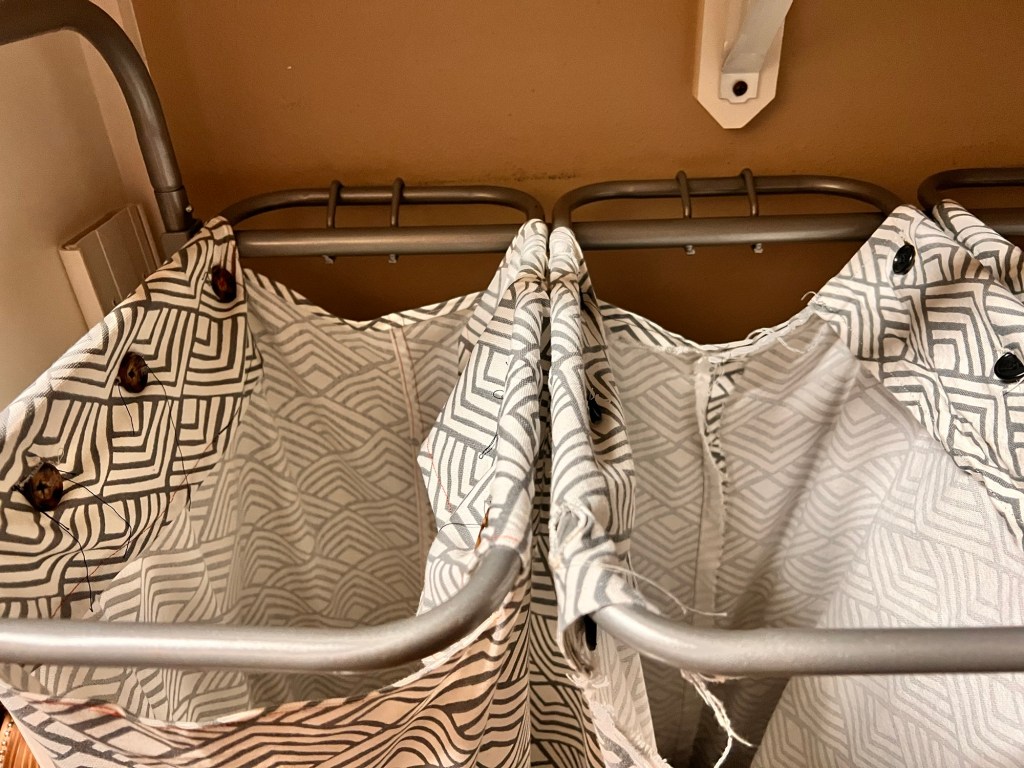
It turned out okay. Definitely gave me confidence to keep going. I wish I had a better picture of how I attached the fold over flap on the laundry thingy. Lol, the Velcro slid off the first time we hung a wet cloth over it. Not to mention, I broke two needles attempting to sew the Velcro down. The amount of safety pins I lined the flap with was ridiculous. By the end of the 2024 I remade them all. I even learned how to add buttons.

Midsummer, I started sewing classes! I’m learning from a well-seasoned dress maker too. She’s sewn for 50 years. Becoming a student again has its own set of challenges and I’m grateful for my growth.

The first project was to make a bag. I made the bag for my son. He carried his cooking club supplies in it. I showed him how to construct an apron too. We used a one-size-fits-all pattern and added some details.

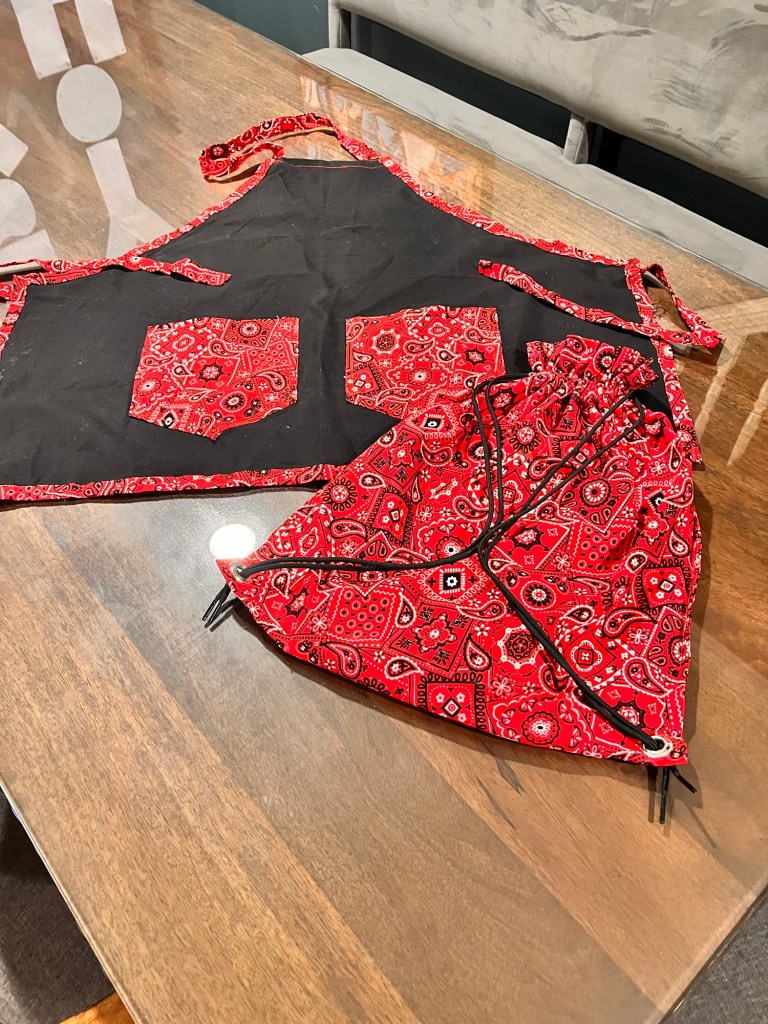
In-person classes made following YouTube University much easier. The apron was a way to familiarize myself with working with a pattern and also introduce sewing to my children. Again, sewing is a necessity if you ask me and they will learn it early.

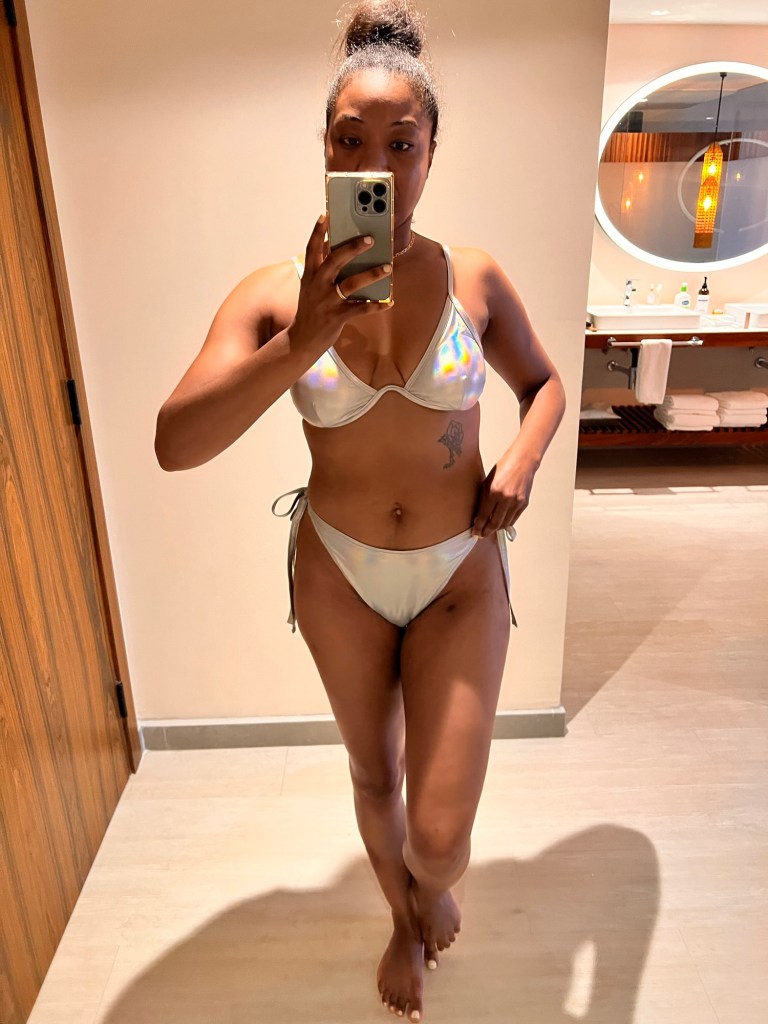
I made bathing suit bottoms! I needed a silver suit for a coordinated event and the bottoms that came with the suit did not fit my Big Ol booty. I decided to try my hand at crafting some and they turned out pretty good. I lined the inside and used non-roll elastic to keep the bottoms in place. Look at the match-up. Can’t tell the difference.

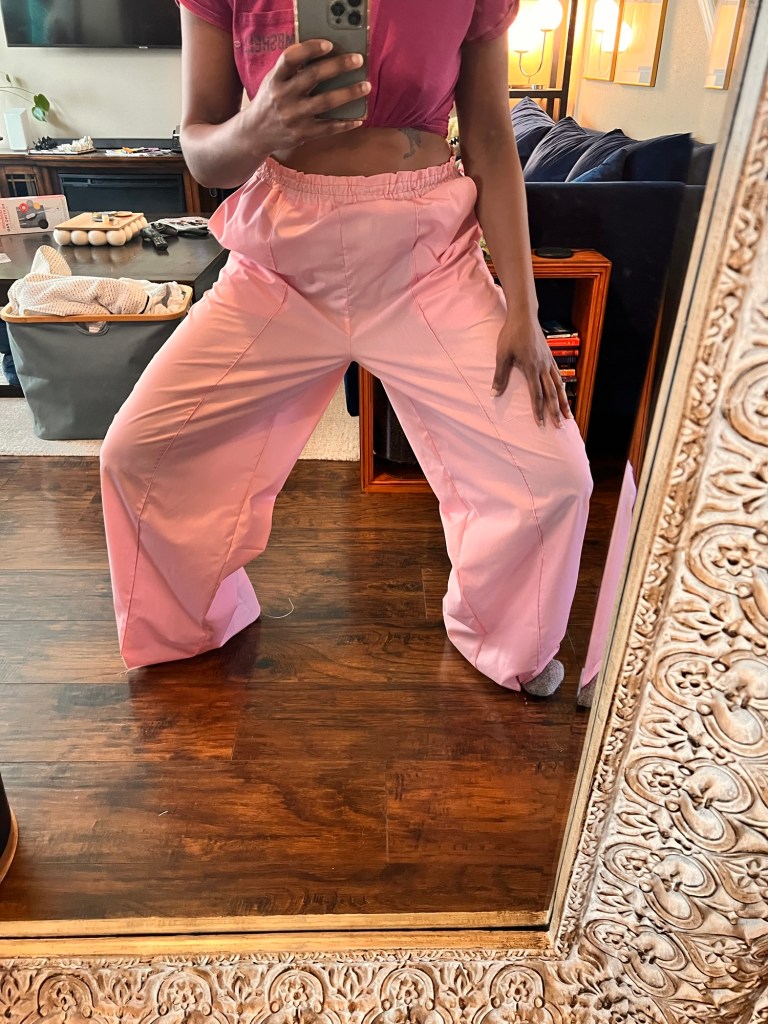
My pink pants are the finished second project from class. I chose a simple enough pattern with some detailing like the pinched line down the front of the legs. I’m so proud of this accomplishment.

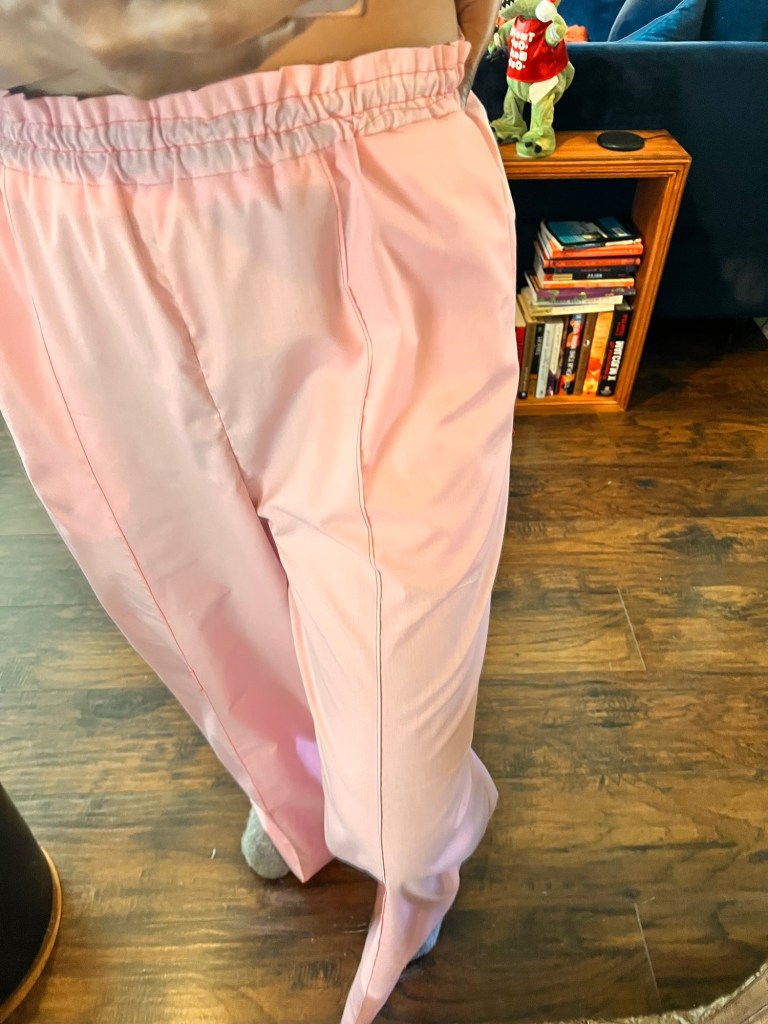
The pattern was not my size. Sizing can be tricky because you don’t go by the size you wear from a store. You have to take your own measurements and pick be sure to pick the proper size in your pattern. This was pattern number two for me. I returned 5 patterns from this mishap; they were all too small. From this, I made holiday pants for my family! Look at those pockets.

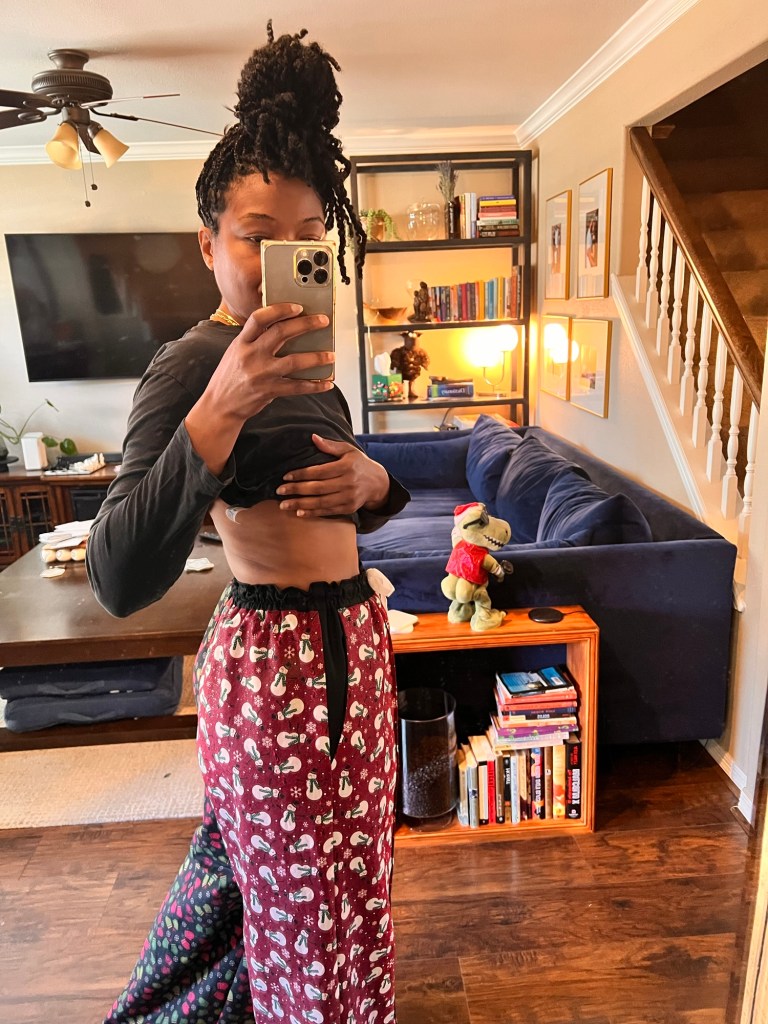
I added the drawstrings and did the pinched line. Used different pattered fabric to achieve this look. Snowmen and mittens go together like peanut butter and jelly. The girls got that and the guys’ combination was gingerbread men and plaid.

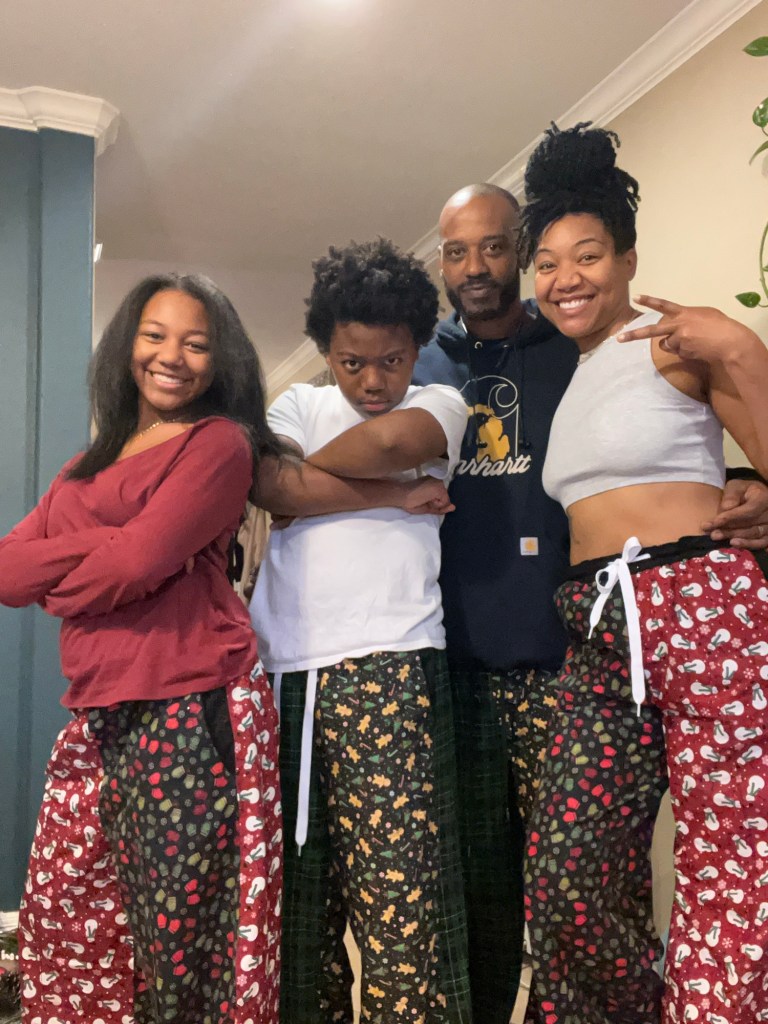
Lol the pants were so big on the kids. I did mismatch panels on their pants and went with mismatch legs on the parents. Christmas was good. I love my family, and I can’t wait to share my next project with you!

Thanks for reading.

Take Care of Yourself

Cow That Bench.

I sometimes have visual ideas. I have so many ideas popping into my head all day long, I wish I could just record my internal thoughts like a DVR in real time and come back to them when I need to. Some of my ideas stick and most of them just leave my big, beautiful brain and I miss them, lol. So, for the ones that stick, I’ve begun to recreate them in a physical way.

One of my great ideas was to create a bench for my bedroom. We have a king-sized bed and there was a time when all four of us, myself, husband and two children, could fit in the bed comfortably. We evolved into a time when the kiddos had to go to the foot of the bed as a way to spread out and now, we’ve moved into a space where the kids are just too big to even be on the bed at the same time.

The bench needed to be a good size, stylish and cozy. I got inspired by an image of loafers. They just looked so good. What caught my eye were the fine hairs and splotchy spots. Beautiful browns and creamy cream. The soles of the loafers were the cherry on top of that Sunday, super structured, hard bottoms. I also peruse Etsy, often and I stumbled upon these really cool furniture legs. They made me thing, bubbles. We have a lot of clean lines throughout our home and it’s just time to switch things up. Its giving texture, its giving standalone piece that looks good in its place. I love it so much.

I took a trip to a leather goods store and found a spectacular cow hide similar to my muse. I ordered my legs and got down to business. I reached out to a local upholsterer and expressed my vision because I had never worked with leather and was a bit intimidated by the material. Side note, I mentioned making a tote bag in another post. I took the leftover material from the hide and made the tote out of that. I actually love working with leather more than any other material I’ve worked with and I plan to do more with it. I had a great experience with Jose but future projects I’ll be doing myself, for now. Jose did make my custom piece exactly the way I wanted it and I’m truly grateful for his expertise. The cushion came out perfect.

In my drawing the border had these lines and I needed to make it make sense in real life. So, to the hardware store I went. I found these thin, square, two ft long wooden sticks and I cut them down to just about in inch and a half, pieces that I then glued to the face of my precut plywood base of the bench. I eyeballed the spacing to give my hand crafted piece the imperfect look I’m always going for because what is perfect!? I then sanded, attached the legs and stained the base added the cushion and vwala, isn’t she pretty!?

I’m working on my picture taking skills. Believe me this is an improvement. I executed my vision superbly.

Stay tuned for more 🙂

Towering Shelf

Oh, I couldn’t pass this prompt up!

I had this deep desire to create a bookshelf! Not just any shelf, I needed it to illuminate light. I’ve had dark and mysterious shelves and I just got bored with them. Books and nicknacks and dust, dust, dust! Gets trapped and forgotten in the dark corners of the traditional styled shelf, so I created a simple, yet statement piece that I get to enjoy seeing every single day!

Daily writing prompt
Describe the most ambitious DIY project you’ve ever taken on.

It had to be towering to scale the room, 7.5ft tall is what I settled on. I push the envelope with everything I do so as big as we can go. Go bigger, lol!

I create imperfect pieces making things by hand, none of the shelves are the same size.

I hit a learning curve when ordering my custom glass shelves. One universal size would suffice.

Sanding everything down by hand and attaching the shelf rest was the most time consuming part of the process. The sanding between paint also sent me into a tizzy.

I used Joanna and Chips, Magnolia chalk spray paint from Lowe’s. 5 cans and this is the color black. It is not black at all. It definitely appears in the navy family of colors.

My shelves are perfectly aligned. 🙂 I impressed myself with the execution of this project! I put this thing together, ok! It came out really great!! Like I said earlier, I just enjoy looking at my shelf. I get a satisfying feeling adding new things to it. I’ve done a few more solo projects since this beauty and I’m looking forward to sharing those as well.

I can do whatever I set my mind to, 🙂